
Photo Posing Guide
PHOTO POSE IDEAS
Portrait Poses
A strong portrait pose looks intentional without making the subject feel fixed in place.
A useful pose is not a single shape to copy; it is a combination of choices you can adjust. Couple portraits feel more personal when both people have something simple to do, rather than holding a fixed pose for every frame.
Portraits
Photo Poses for Different Kinds of Pictures
A useful pose is not a single shape to copy; it is a combination of choices you can adjust. Posture, facing direction, distance between people, and interaction all affect how a picture reads. The right starting point depends on whether you are photographing one person, a couple, or a group. Use the subject and setting to find a practical direction, then refine one detail at a time.
Posing as Adjustable Choices
A photo pose is built from four adjustable choices: posture, direction, spacing, and interaction. Posture covers how you hold your shoulders, arms, and weight; a small shift from squared shoulders to a relaxed angle can change the outline of a portrait. Direction means where your body and face turn, such as facing the camera or rotating slightly toward another person. Spacing describes the distance between people or between your body and the frame. Interaction is what you do with a hand, gaze, or shared object rather than simply holding still. To make a pose feel manageable, change one choice at a time: keep your stance and shift your gaze, or hold your direction and move one arm. This gives you a clear comparison between frames without depending on a complicated pose or memorized sequence.
Choose a Guide by Subject and Setting
The guide is grouped by subject and setting so you can start with the kind of picture you need. Individual portraits focus on one person, while couple photography poses address two people sharing the frame. Family ideas cover parents and children, and group photo poses suit larger combinations of relatives, friends, or classmates. Separate guidance addresses milestone sessions, including senior, prom, and maternity portraits, where the occasion and clothing shape the choices. Hoodie portraits call attention to how the garment sits and how its details appear in the frame. Photo booth ideas suit a compact setup, where props and several people may need to fit into one shot. For an outdoor session, choose the setting-specific guidance; for a studio or event, begin with the subject category. This distinction helps you find portrait photo pose ideas that match the people and location rather than searching through unrelated examples.
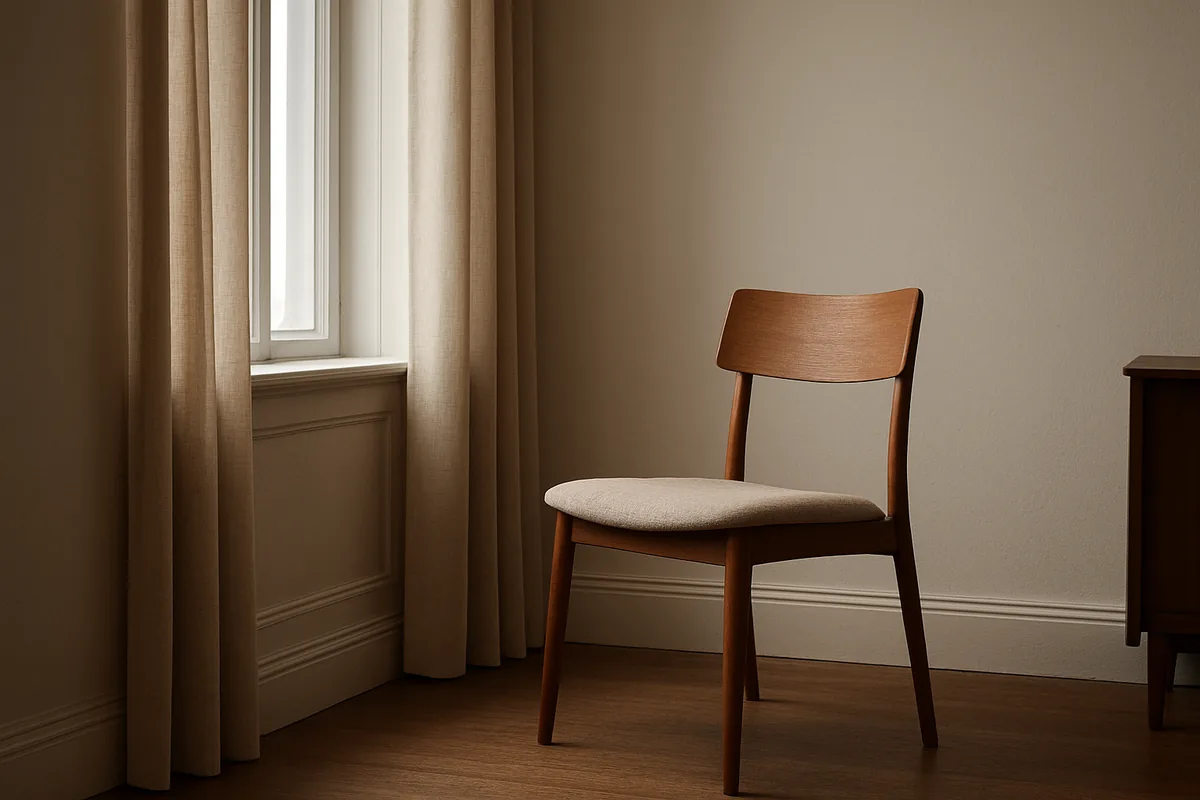
Portrait Poses and Window Light
A strong portrait pose looks intentional without making the subject feel fixed in place. Small changes to posture, hand position, gaze, and camera framing can shift the mood while keeping the expression at ease. Use one adjustment at a time so the subject can respond naturally rather than trying to remember a complicated pose. For simple portrait photo pose ideas, consider how each choice supports the face and the feeling you want to convey.
Posture, Hands and Gaze
Start with a comfortable stance, then make a few specific adjustments to keep the pose relaxed. These posing tips for portraits work for seated and standing subjects.
- Ask the subject to shift most of their weight onto one leg; a slight bend in the free knee softens the stance without forcing a dramatic angle.
- Have them lower and release their shoulders, then lengthen the back of the neck; this eases a raised, compressed look around the collarbones.
- Give each hand a clear task, such as resting lightly on a hip or holding a jacket edge, with fingers gently curved rather than clenched.
- For seated portraits, place hands separately on a thigh or chair arm; leaving a small gap between arms and torso keeps the outline distinct.
- Ask for a direct look into the lens for a connected expression, or have the subject look just past it for a quieter, reflective mood.
- Frame from mid-chest upward for a close portrait, or include more space around the body when the hands and stance help tell the story.
Change only one detail at a time, then let the subject settle before taking the frame. A small turn of the torso or a relaxed hand often feels more convincing than a rigid, symmetrical pose.
Window Light for Portraits
A nearby window acts as a broad directional light source: the side facing the glass is brighter, while the opposite side receives less light and shows more shape. Turn the subject toward the window for more even illumination across the face, or angle them partly away to create a gradual shadow along one cheek. Moving closer to the glass generally makes the light appear softer and more prominent; stepping farther back reduces its influence relative to the room. Keep the window just outside the frame when you want the face to remain the visual focus, and check for bright reflections in the eyes before shooting. A sheer curtain can soften direct sunlight, while an uncovered window on a cloudy day often produces gentle, diffuse light. The Photo Poses guide connects this kind of light with practical portrait choices, including posture, hands, gaze, and framing.
Couple and Engagement Poses
Couple portraits feel more personal when both people have something simple to do, rather than holding a fixed pose for every frame. A shared walk, a turn toward one another, or a light touch can give hands and gaze a natural purpose. The photographer can vary the distance between partners and the amount of space around them to suit the location. These couple photography poses work for engagement portraits as well as everyday sessions. Small changes in posture and interaction create a range of images without requiring elaborate staging.
Movement and Shared Gestures
Give the couple a short, repeatable action instead of asking them to freeze in a formal stance. They can walk side by side for six or eight steps, then slow down and turn their shoulders toward each other. A gentle change of pace lets clothing and hair move naturally, while the photographer can capture a wide frame during the walk and a closer one when they pause.
Comfortable closeness comes from an easy point of contact, not from forcing both bodies into a tight embrace. Partners might stand shoulder to shoulder, lean lightly together, or leave a small gap while keeping their faces angled toward each other. For standing poses for couples, let one person rest a hand on the other’s forearm or hold hands loosely at waist height. Relaxed fingers and unlocked elbows look less rigid than clenched hands or sharply bent arms.
Small gestures give the interaction a clear focus: straighten a collar, brush a strand of hair away, or rest a hand briefly on a shoulder. Ask partners to look at each other, then toward the camera, so expressions shift without changing their basic position. These natural poses for photography keep the couple connected through shared attention and touch, while subtle movement prevents the image from feeling like a formal lineup.
Engagement Portrait Variations
Adapt the pose to the setting rather than treating every location as a backdrop for the same arrangement. In an open park, leave space around the couple and use a path or tree line to frame them; in a tighter setting, move closer and let the background become less prominent. Outdoor photo poses can use a walking route, a bench, or a quiet patch of shade as a natural place to pause, while indoor portraits can make a doorway or plain wall the setting.
Vary the distance between partners to change the feeling of the frame: stand close for a private exchange, leave a little space for a full-length portrait, or position one partner slightly behind the other for layered depth. The interaction can be playful, calm, or affectionate, with eye contact, a shared glance off camera, or hands held between them. The Couple and Engagement Poses collection brings these setting, spacing, and interaction variations together for portrait planning.
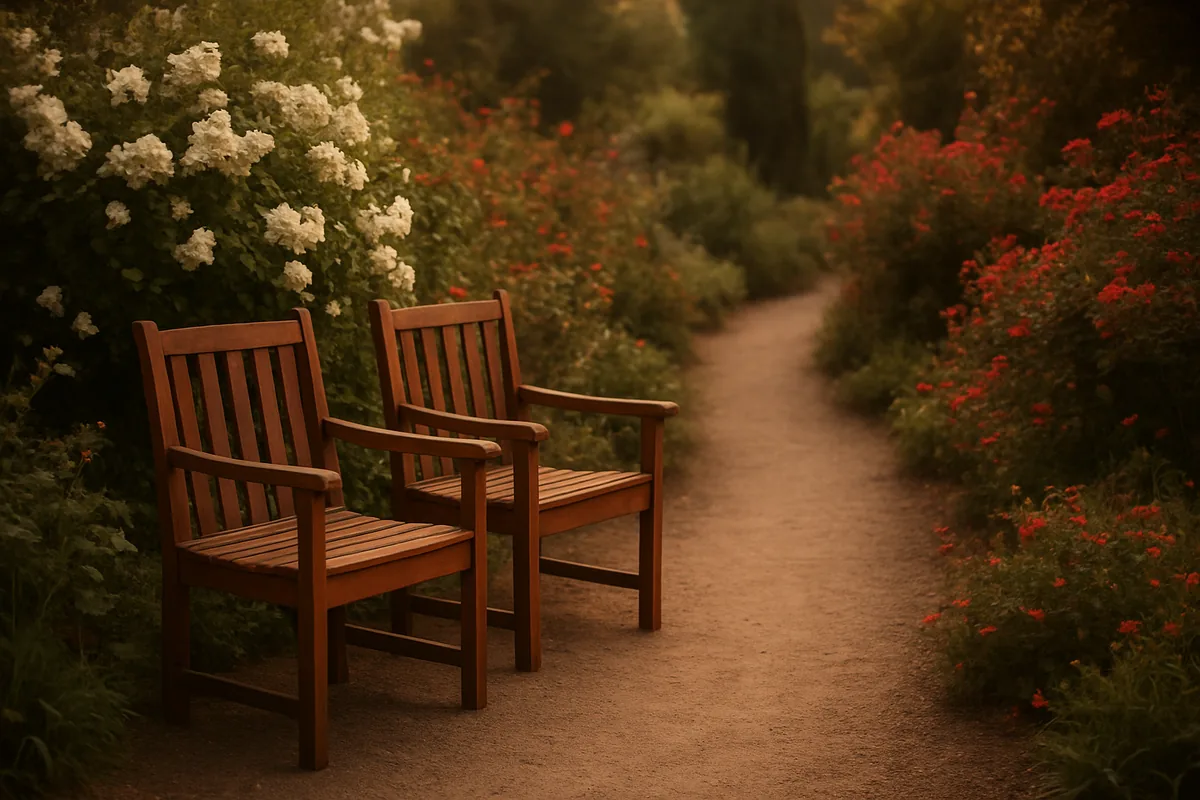
Family and Group Photo Poses
A clear arrangement helps every face remain visible, whether the picture includes three relatives or a larger group. Height differences, shoulder spacing, and the depth between rows all affect how balanced the frame looks. For family photo poses, small adjustments such as turning shoulders or shifting one person half a step can open sightlines without making the group feel rigid. Choose a setup that fits the number of people and the available space. Then use a shared point of attention or a simple gesture to bring the arrangement together.
Arrange People by Height and Spacing
Choose the arrangement according to height differences, the number of people, and whether the location offers a bench or chairs. The measurements below are practical starting points; adjust them until each face has an unobstructed view of the camera.
Simple Interaction for Groups
Shared attention gives a group a visible point of connection: everyone can look toward the camera, toward one family member, or at a child standing near the center. For a more candid feel, ask two people to exchange a brief glance while the others stay oriented toward the lens. Keep the prompt simple enough to complete in a few seconds, so expressions remain relaxed.
Gentle contact can also connect people in the frame. A hand resting lightly on a shoulder, linked elbows, or a parent holding a child’s hand creates clear relationships without forcing a tight cluster. For family groups, invite a small action such as leaning toward the youngest person or turning slightly toward one another; for friends, a shared laugh or shoulder-to-shoulder stance can work just as well. The Family and Group Photo Poses guide covers arrangements and interaction prompts for these portraits.
Senior, Prom and Maternity Portraits
Senior, prom and maternity portraits call for different priorities, even when all three use a simple seated or standing setup. Senior sessions can reflect personal style, while prom portraits make formal clothing and the occasion part of the image. Maternity portraits center on comfortable positioning and the subject’s preferences at each stage of the session. Choosing a pose around the purpose of the portrait helps clothing, expression and framing work together.
Goals by Session Type
Senior portraits are a chance to make the images feel individual rather than like a standard school headshot. Let personal style guide choices such as a favorite jacket, a meaningful instrument or a familiar campus setting; one or two details are usually enough to make the portrait specific without competing with the face. A relaxed lean against a wall or a seated pose with the shoulders turned slightly can feel at ease while still keeping the expression and outfit visible. The Senior Portrait Guide focuses on ways to reflect personal style in the pose and setting.
Prom portraits have a different aim: show the formality of the event and the details of clothing chosen for the occasion. A full-length frame can include the dress, suit or coordinated accessories, while a closer portrait emphasizes the face and a polished expression. A gentle turn of the body can show the line of a gown or jacket without requiring a complicated pose. The Prom Portrait Guide covers posing with formal clothing and capturing the occasion.
Maternity portraits prioritize the subject’s preferences and a position that feels comfortable throughout the session. Some people prefer a clear view of the belly; others may favor a more subtle silhouette, a seated pose or a portrait that includes a partner. Ask which framing and gestures feel right before settling on a pose, then keep movements simple and easy to change. The Maternity Portrait Guide addresses comfortable positioning and personal preferences.
Comfortable Clothing and Positioning
Before posing, check how each outfit behaves when standing, sitting and turning. For senior portraits, clothing that fits well at the shoulders and waist makes small posture changes easier; a jacket can be worn open or removed between frames to vary the look. For prom, check that a long hem or train falls neatly before taking a full-length picture, and arrange sleeves, lapels or accessories after each change of pose. The Senior Portrait Guide and Prom Portrait Guide address these session-specific clothing choices.
For maternity portraits, choose garments that allow easy movement and do not need constant adjustment. A seated pose can be changed by shifting the torso or turning slightly, while a standing pose can use a relaxed, balanced stance rather than a rigid posture. Offer options and let the subject choose whether to sit, stand or pause between positions; avoid treating one silhouette as the default. The Maternity Portrait Guide focuses on comfortable clothing and positioning.
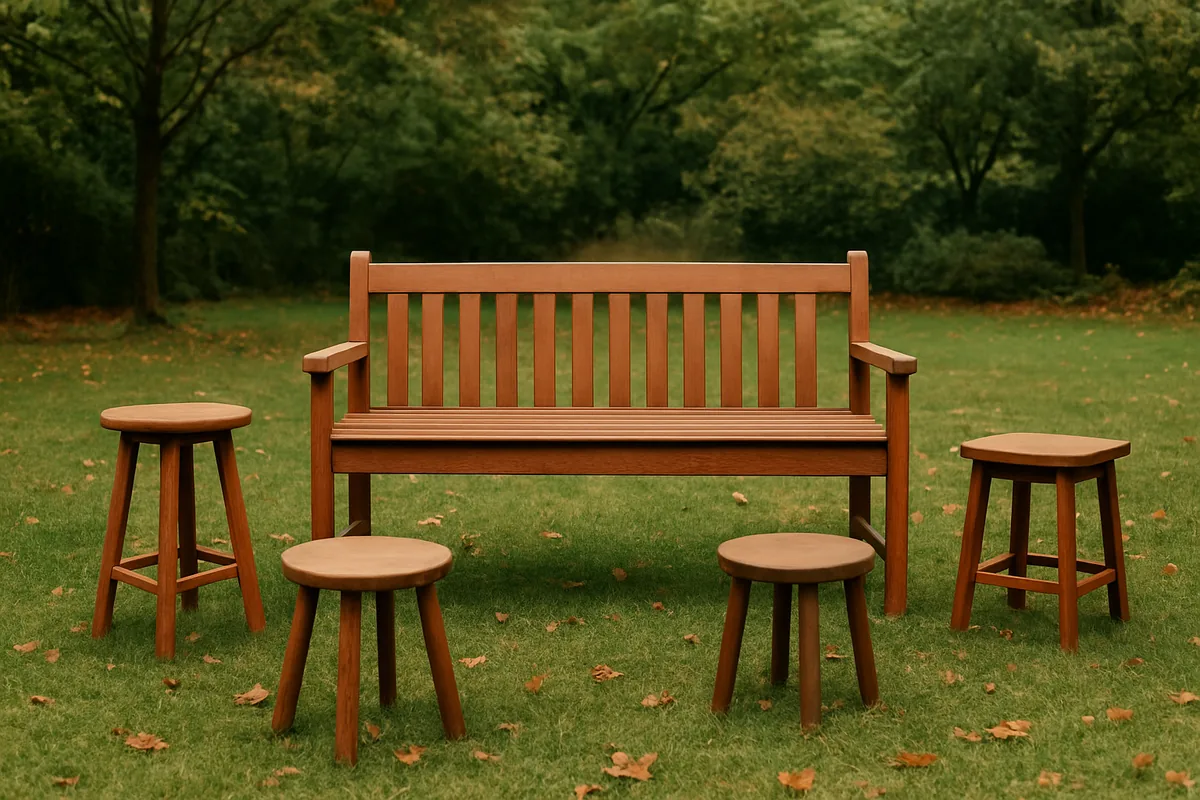
Hoodie and Photo Booth Poses
Hoodies and photo booths invite a more casual approach than a formal portrait setup. A relaxed stance, a small clothing adjustment, or a shared prop can give each frame a clear point of interest. Keep expressions and gestures comfortable so participants can respond naturally rather than hold an elaborate pose. Small changes between shots create variety without requiring a new setup.
Hoodie Poses and Clothing Details
For relaxed hoodie poses, let the shoulders settle and keep the chest open rather than hunching into the fabric. One hand can rest lightly in a front pocket while the other hangs at the side; placing both hands in the pockets may pull the hem upward and make the stance look stiff. A seated portrait can use one forearm on a knee, with fingers relaxed instead of gripping the sleeve.
Use the hood as a detail, not a frame that hides the face. Leave it down for a clear view of the hair and jawline, or lift it loosely so its edge sits behind the temples. A slight turn toward the camera can show the hood’s shape without casting a heavy shadow over the eyes. Drawstrings can hang naturally or be held gently near the collar, but avoid pulling them tight.
Sleeves can add a soft gesture: lightly pinch a cuff, cover part of the palm, or push one sleeve back to reveal a watch or bracelet. Keep logos and graphic prints visible only when they suit the image; a small turn of the torso can prevent lettering from bending across the chest. These simple choices make clothing part of the portrait while keeping attention on the face.
Photo Booth Props and Group Prompts
Choose a few lightweight props that are easy to hold between frames, such as paper glasses, a small sign, or a party hat. Offer prompts that leave room for each person’s personality:
- Let each participant select one prop and hold it near shoulder level, keeping faces clear while giving every person a distinct detail.
- Ask the group to make different expressions on a count of three, from a wide grin to a mock-serious look, then take another frame.
- Invite two people to share a simple gesture, such as pointing toward each other or raising their glasses, while others react naturally.
- Change the arrangement between shots: bring two people forward, place taller participants behind, then switch positions for a second combination.
- Try a coordinated motion, such as leaning in together or waving toward the lens, and capture several frames as the group settles.
Keep the prop table small enough that choices take seconds, not minutes, and let anyone skip an item that feels awkward. A loose prompt such as “show your best celebration face” gives the booth a direction without demanding matching smiles or identical poses.
How to Use This Photo Posing Guide
Treat posing as a sequence of small choices rather than a fixed formula. Start with one clear prompt, then adapt it to the people in front of the camera and the space around them. Watch what changes in the frame before giving another direction; a shifted hand or a half-step can be enough. These posing tips for portraits and other pictures work best when each adjustment has a visible purpose. Keep the exchange conversational so people can move naturally between frames.
Start with One Prompt
Give one direction, allow a moment for it to settle, then check the frame before adding another. A simple sequence keeps people from trying to follow several instructions at once.
- Choose a prompt with one action, such as turning toward the light or taking a slow step, rather than combining several movements.
- Adapt the wording to the person: ask a child to show you something nearby, while an adult might shift weight onto one foot.
- Check the setting for obstacles, bright distractions, or limited room, then place the person where the prompt can happen comfortably.
- Take a frame after the movement begins, not only at its endpoint, so you can compare the transition with the settled position.
- Notice one result in the image, such as a clearer face or less crowded edge, and use that observation to choose the next direction.
If the first prompt already gives you an expressive frame, keep working with it by changing only its pace or direction.
Adjust Posture and Spacing
Refine the pose one visible detail at a time. Ask someone to release raised shoulders, turn the chest slightly, or shift weight from both feet onto one leg; check the next frame before changing another point. For hands, give them a simple task, such as resting lightly on a chair back or holding a coat edge, rather than leaving them suspended. A relaxed jaw and gaze just beside the lens can soften the expression without requiring a broad smile. For two or more people, look at the gaps between shoulders, elbows, and heads in the frame. Invite someone to move a few inches closer or angle a shoulder toward the group, then confirm that no face is hidden. Keep enough room for comfortable breathing and natural movement; avoid forcing contact when people seem uneasy. If a stance looks stiff, let the person reset their feet and try a smaller adjustment. These natural poses for photography come from clear, modest directions, not from holding an elaborate position.
POSE GUIDE